Step-by-Step Guide to setup the connection with your webshop
In this guide we will provide you a step-by-step guide on how to setup a connection between your webshop and the CloudWMS.
More information soon
Amazon
Currently we are working at this integration to improve the quality. We will make this available as soon as possible.
Bol
![]()
| Quick information | |
|---|---|
| Supported versions | Newest Bol.com retailer API |
| Required data | Client ID |
| Client secret | |
Preparation
Make sure you are logged in to the bol.com sales portal
Please make sure the products on BOL.COM have a reference number, otherwise the products cannot be imported into CloudWMS.
Obtain necessary data
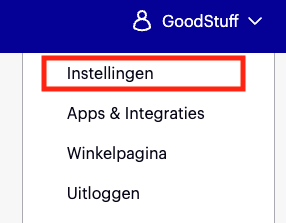
After you have logged in to the bol.com sales portal, you can navigate to Settings by using the menu at the top right of the screen:
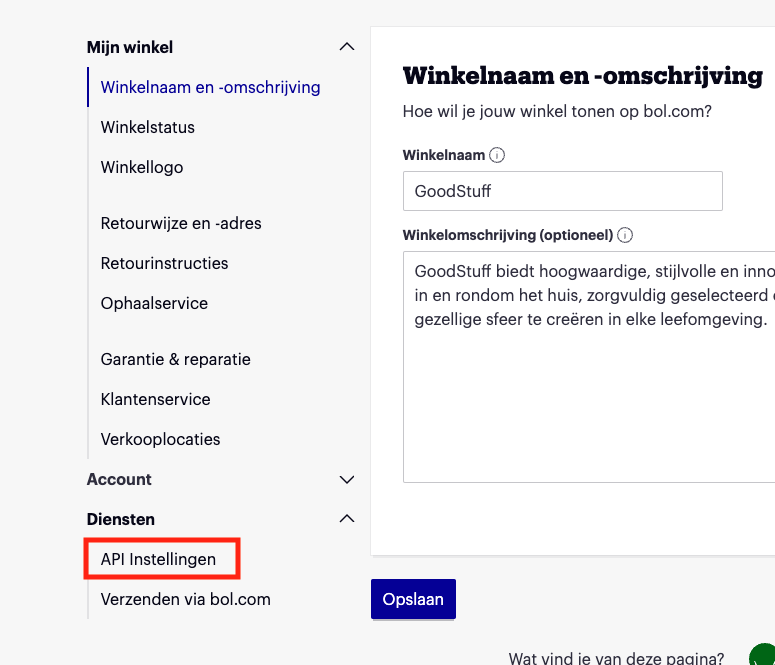
On this page you can go to the API settings:
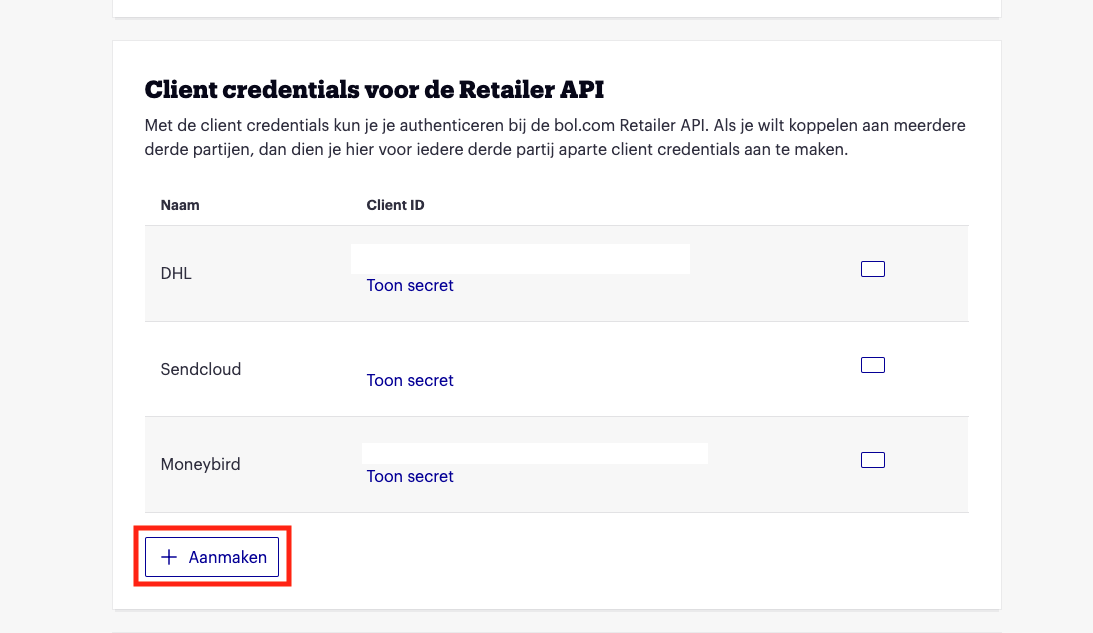
On this page you can generate client credentials by clicking on the Aanmaken button:
Connect with CloudWMS
Once you have the key, you can go to CloudWMS and navigate through the menu to Integrations.
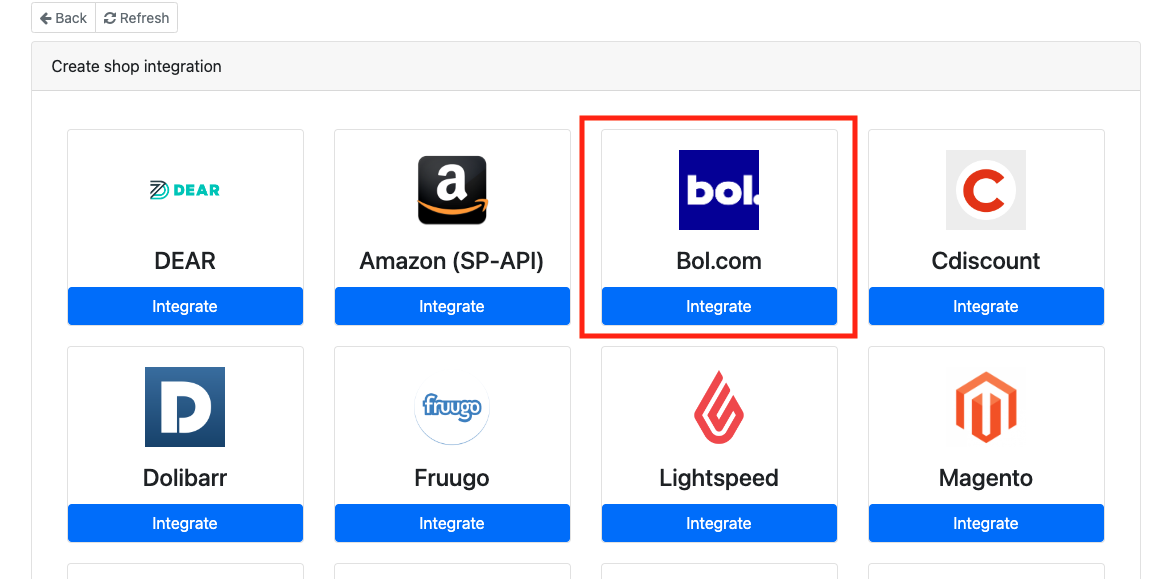
Now click on bol.com:
On this page you can add the ClientID and Client Secret:
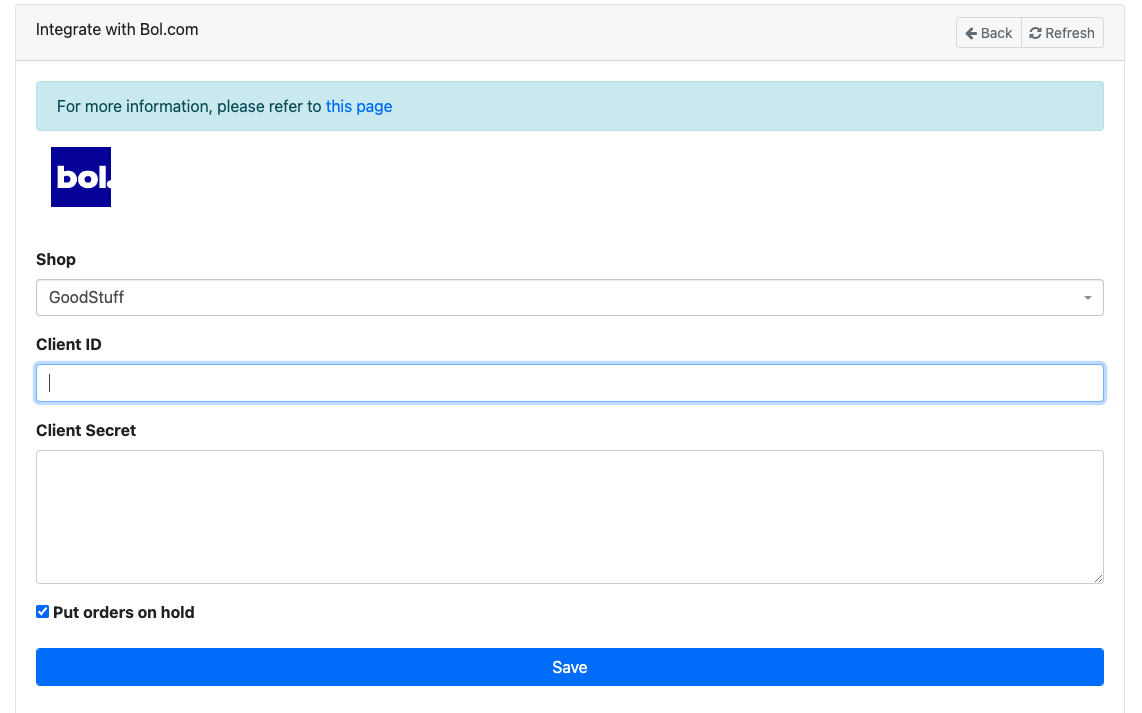
After saving the integrations the orders will orders will be synchronized in 5 minutes and the other data in one hour.
FAQ
How are my bundles handled by CloudWMS?
Bundles are created as single products in bol.com. To make sure that CloudWMS knows what their content is, you will need to create bundle products in CloudWMS. Please note that no stock synchronisation is possible for bundles, so you will need to update the stock in bol.com manually.
We advise you to keep a low a stock level in bol.com to make sure orders can always be dispatched and the risk of selling products that are not in stock are lower.
Please visit this page for instructions about how to create bundle products in CloudWMS.
Lightspeed
![]()
Lightspeed only offers access to the API if you have the Advanced package.
| Quick information | |
|---|---|
| Supported versions | Latest lightspeed advanced |
| Required data | API Key |
| API Secret | |
Preparation
Make sure you are logged in into your Lightspeed back office
Gathering the key
- Please go to the Settings page
- Now click on Store settings and then Developers
- Select New API key
- Enter a name for the API key (e.g. cloudwms)
- Select Save
- Under SETTINGS, select the switch at the top-right corner to enable the API key
- Under Permissions, please select the following checkboxes:
- Content: None;
- Products: Read;
- Customers: None;
- Orders: Read and write;
- Settings: None;
- Tracking: None;
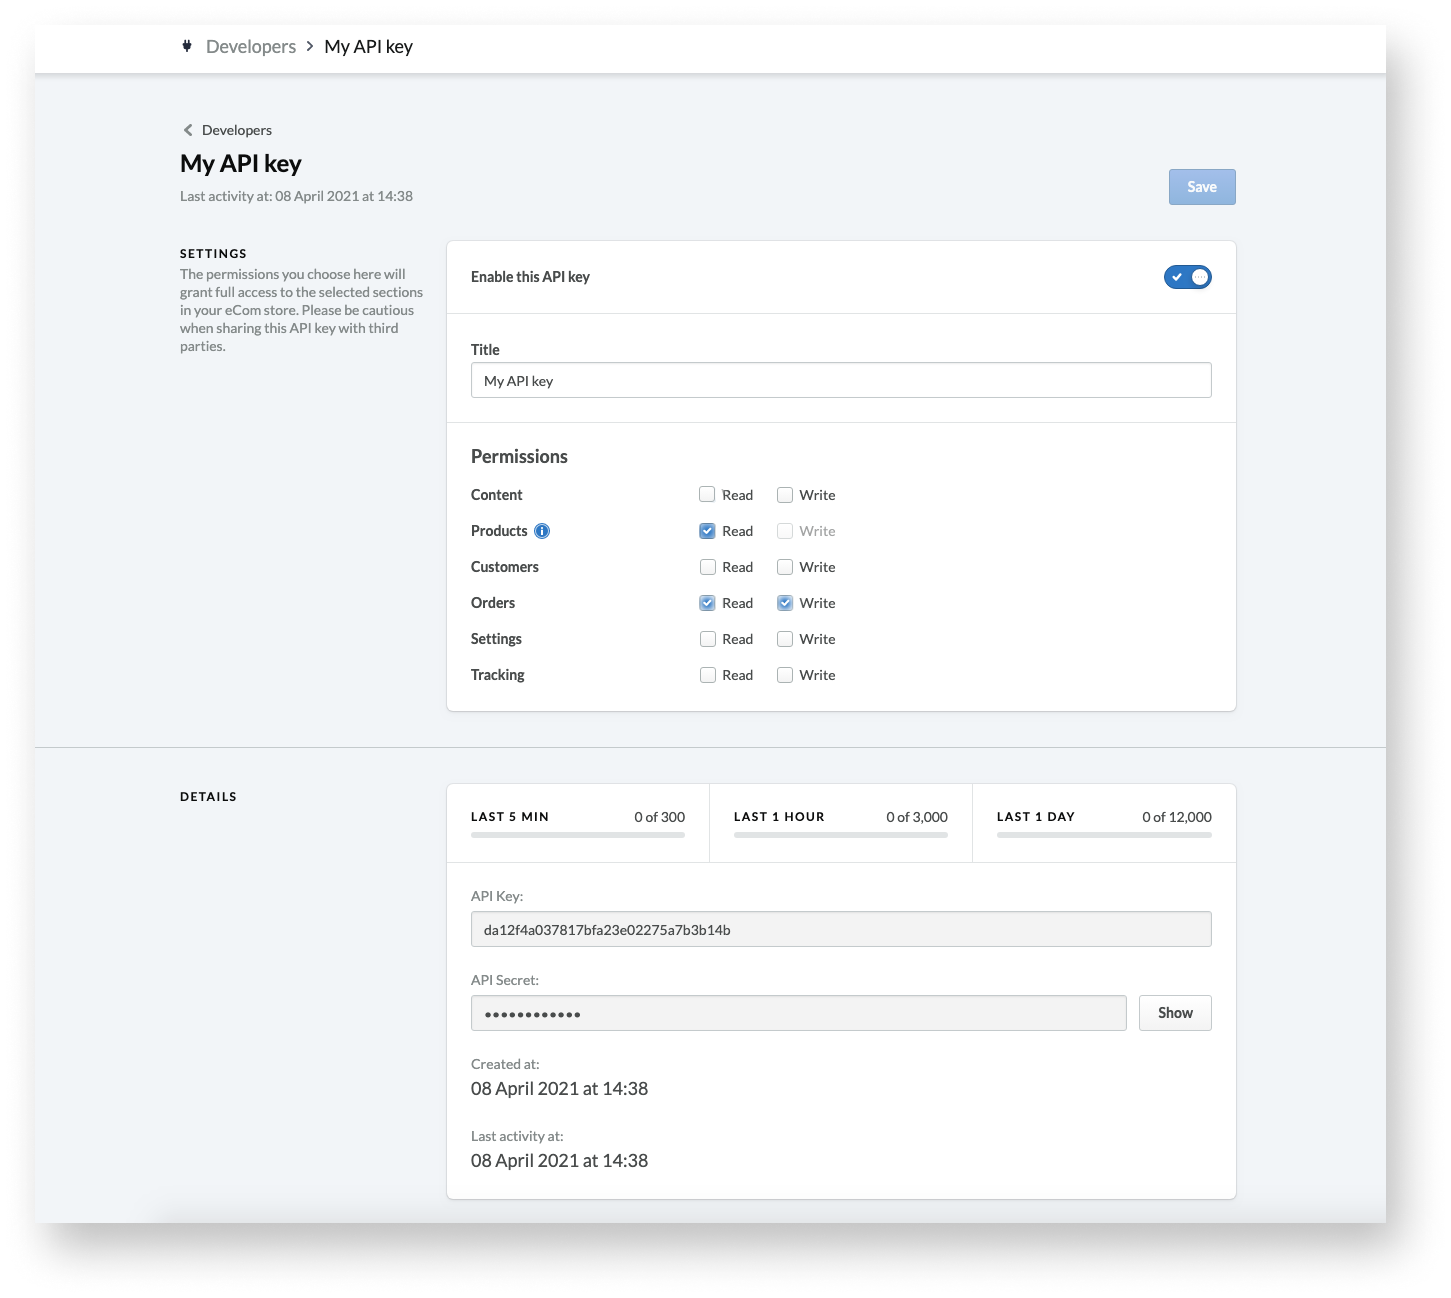
- Select Save, under DETAILS. The API key will display.
- Select Show to display the API secret.
- Now you have the required data, we will add this to the WMS integration.
Connect with CloudWMS
Once you have the key, you can go to CloudWMS and navigate through the menu to Integrations.
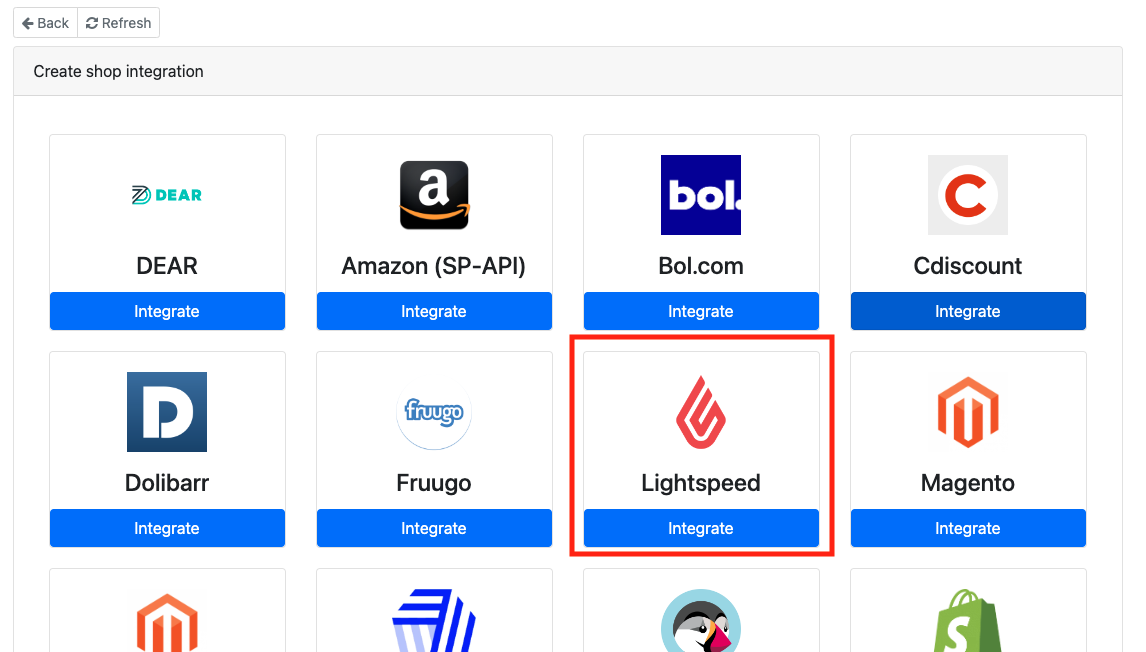
Now click on Lightspeed:
On this page you can add the API key and API Secret:
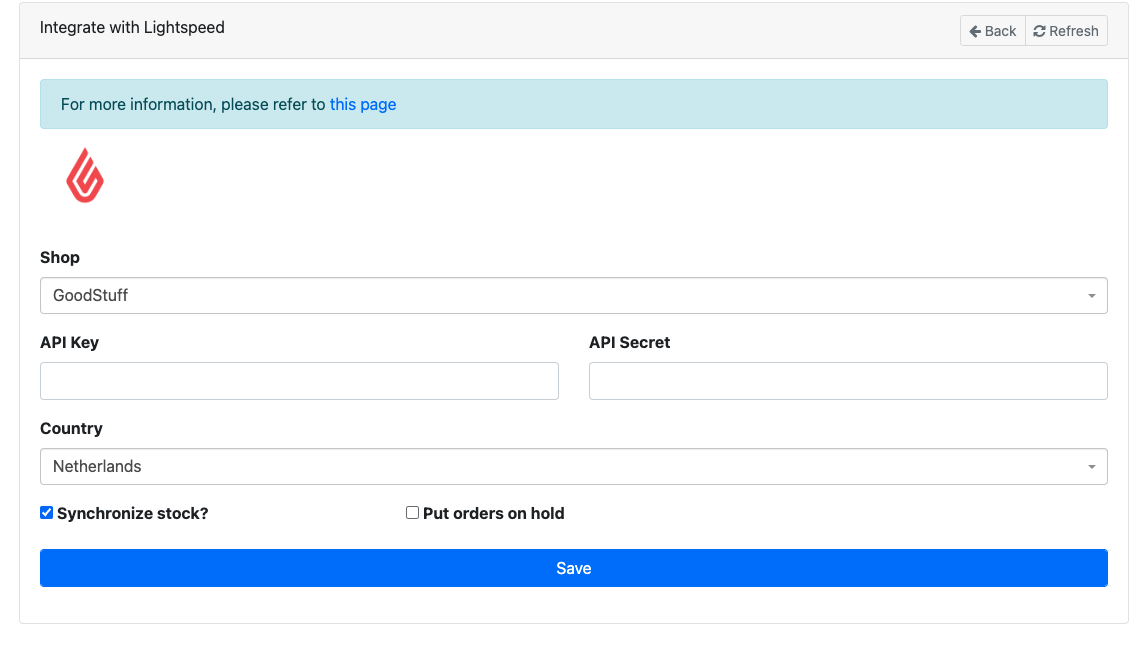
After saving the integrations the orders will orders will be synchronized in 5 minutes and the other data in one hour.
Shopify
![]()
| Quick information | |
|---|---|
| Supported versions | All |
| Required data | Access token (password) |
| Location ID |
Preparation
Make sure you are logged in to the Shopify portal
Obtain necessary data
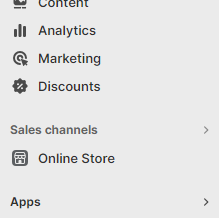
Navigate to the Apps page in the back office of your online store (located in the navigation bar on the left).
A modal will show. Please click App and sales channel settings.
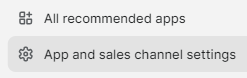
Another modal will show. Please click Develop apps.

You will be redirected to the overview of private apps. Please click Create an app.

You can now configure the app to connect to our WMS. Give the app a name and select a user. After that, make sure the following scopes are configured under Configuration.
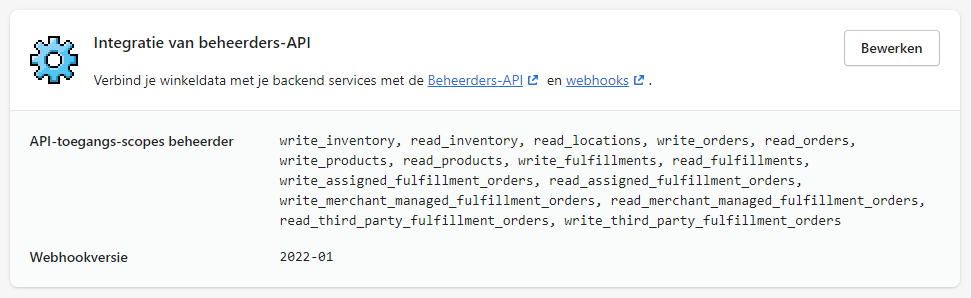
Nothing else needs to be changed. The access token (password) should have been generated and can be found under API credentials. It should start with shpat_.
Connect with CloudWMS
Once you have the information, you can go to CloudWMS and navigate through the menu to Integrations.
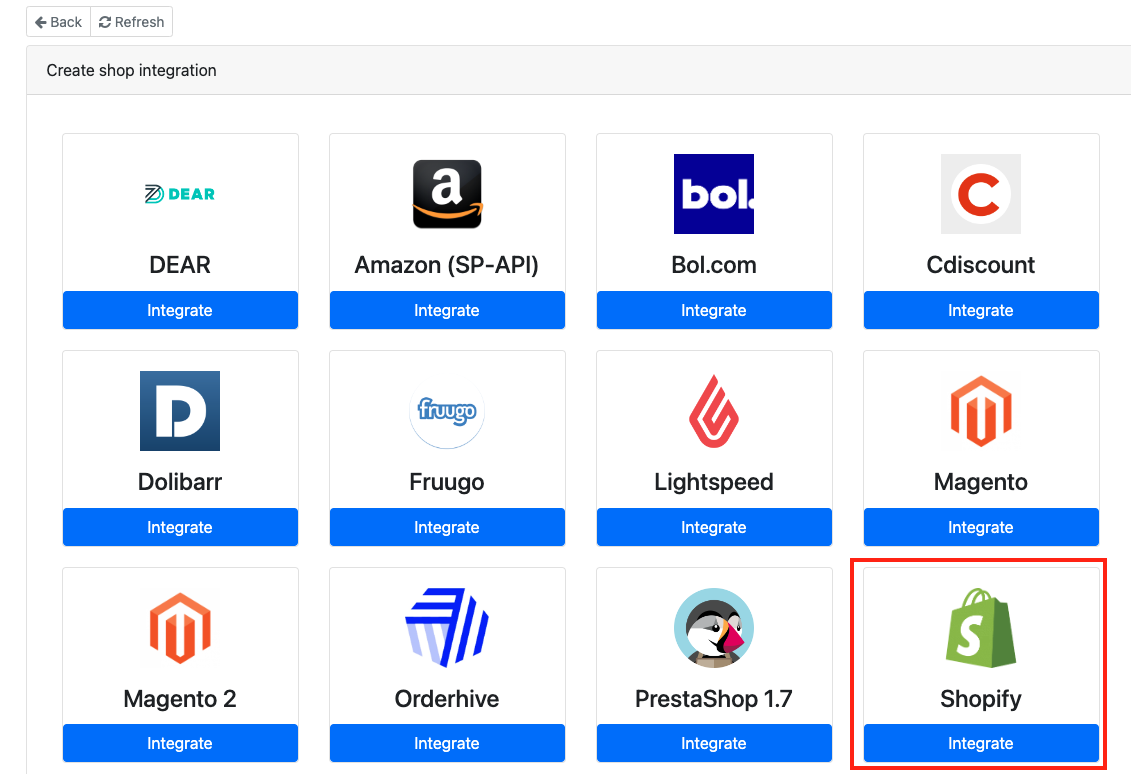
Now click on Shopify.
On this page you can enter the access token (password) and retrieve the desired location ID.
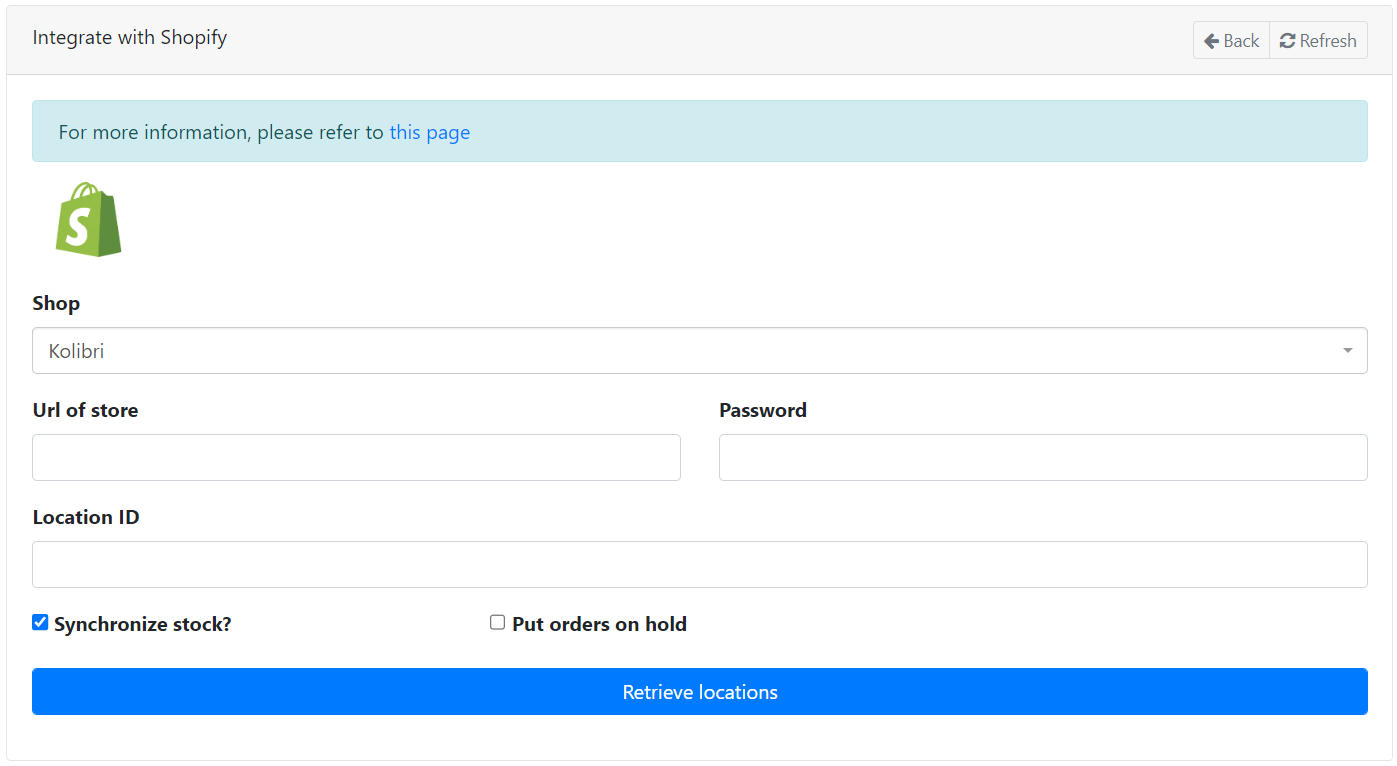
URL: this is your store URL. It ends with .myshopify.com.
Password: this is the value under Admin API access token.
Location ID: please make sure you have created a dedicated location, preferably with the name and address of your logistic partner. Read more
After saving the integration, the orders will be imported within 5 minutes and other data within one hour (unless configured differently).
Woocommerce
![]()
| Quick information | |
|---|---|
| Supported versions | All |
| Required data | Consumer key |
| Consumer secret | |
Preparation
Make sure you are logged in to the Wordpress admin portal
Obtain necessary data
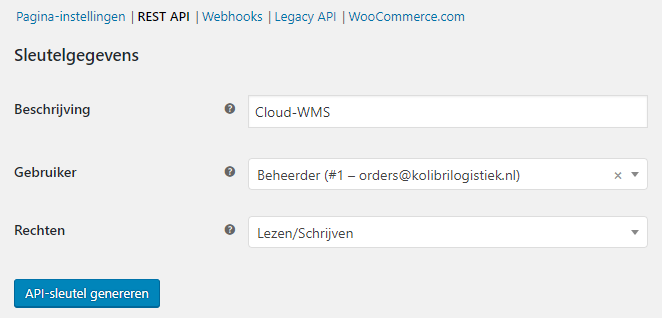
Navigate to WooCommerce Settings -> Advanced in your back office. On this page you will find the REST API and Legacy API tabs and a couple of other tabs. Click on the REST API tab and you will see the following fields.
-
Description: You can give it any name, preferably a recognizable one such as 'CloudWMS'.
-
User: This should be a user with administrator rights. Please note that the API will not work if the user does not have administrative rights or loses them.
-
Permissions: The permissions should always be Read/Write. Please note that the API will not work if this is not the case.
Click on Generate API key to generate the key. You will then see the following.
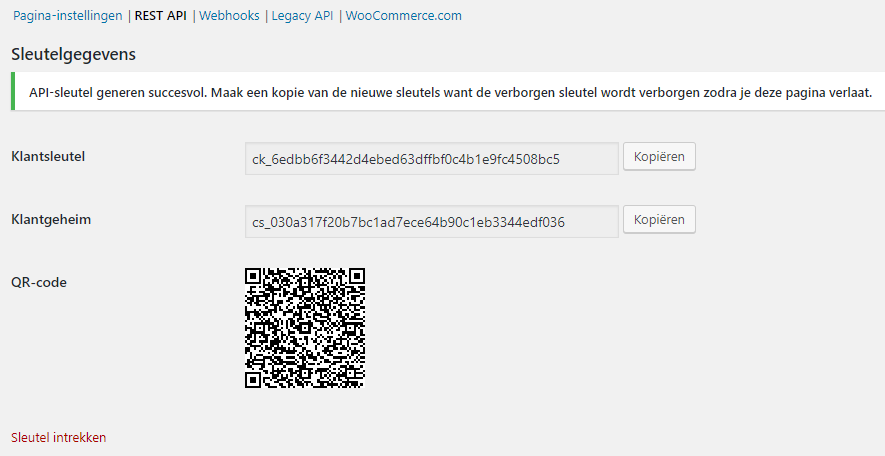
The key and secret are unique and can only be seen/copied after they have been generated, so make sure to write them down somewhere or store them in a password manager you trust.
Note: as soon as the key has been revoked, the connection with the WMS will be stopped and new keys will have to be generated and configured in our WMS. As soon as you have followed the above steps, we can make the connection between your webshop and the WMS.
Connect with CloudWMS
Once you have the key, you can go to CloudWMS and navigate through the menu to Integrations.
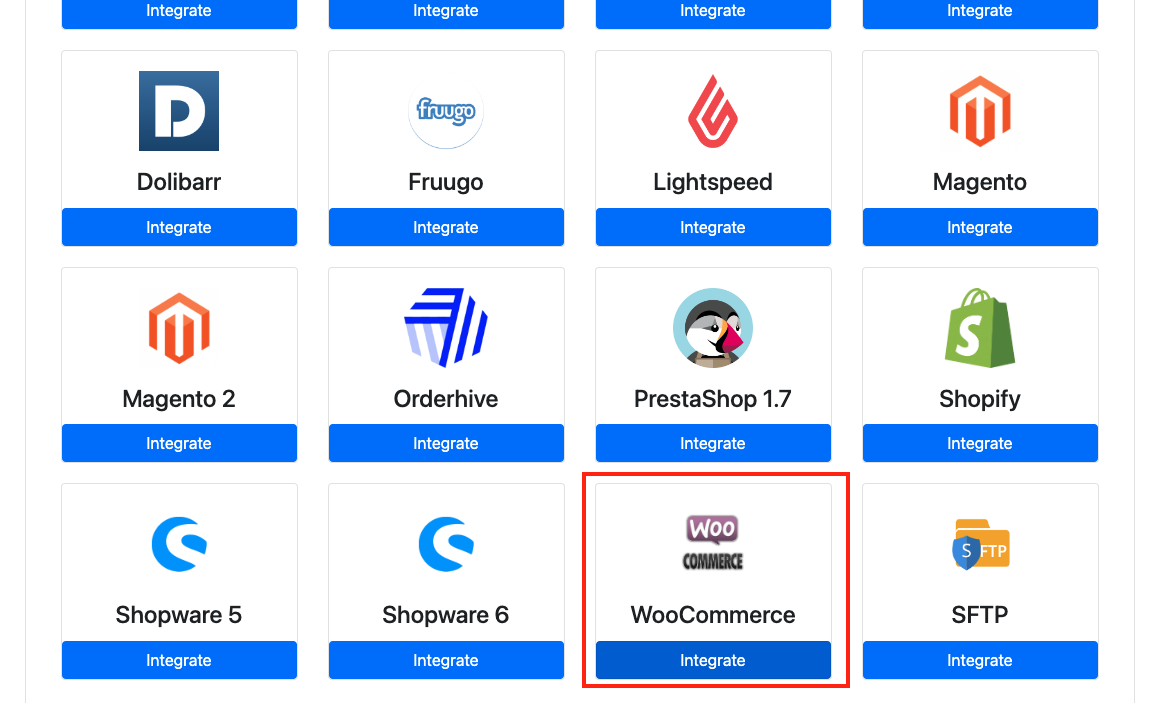
Now click on Woocommerce:
On this page you can add the ClientID (Consumer key) and Client Secret (Consumer secret):
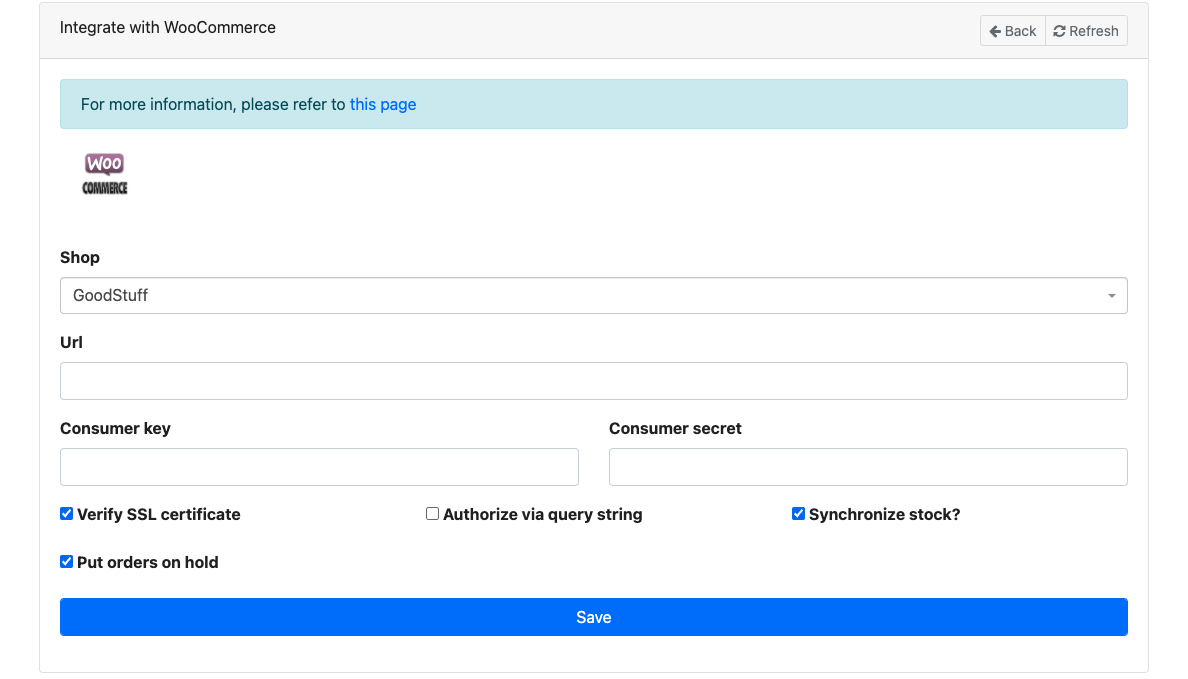
At url enter the web address of your webshop.
After saving the integrations the orders will orders will be synchronized in 5 minutes and the other data in one hour.
SFTP

| Quick information | |
|---|---|
| Supported versions | - |
| Required data | Server domain or V4 IP address |
| Available port of the SPTP server | |
| Username of the SFTP-server | |
| Password of the SFTP-server | |
| Optional data | Path to the directory with the order files |
Preparation
Please make sure the SFTP server is running and you store the file the right way. Please download this example:
Obtain necessary data
Get the login-credentials, the IP-/web-address of the server and the server port.
Connect with CloudWMS
Once you have the key, you can go to CloudWMS and navigate through the menu to Integrations.
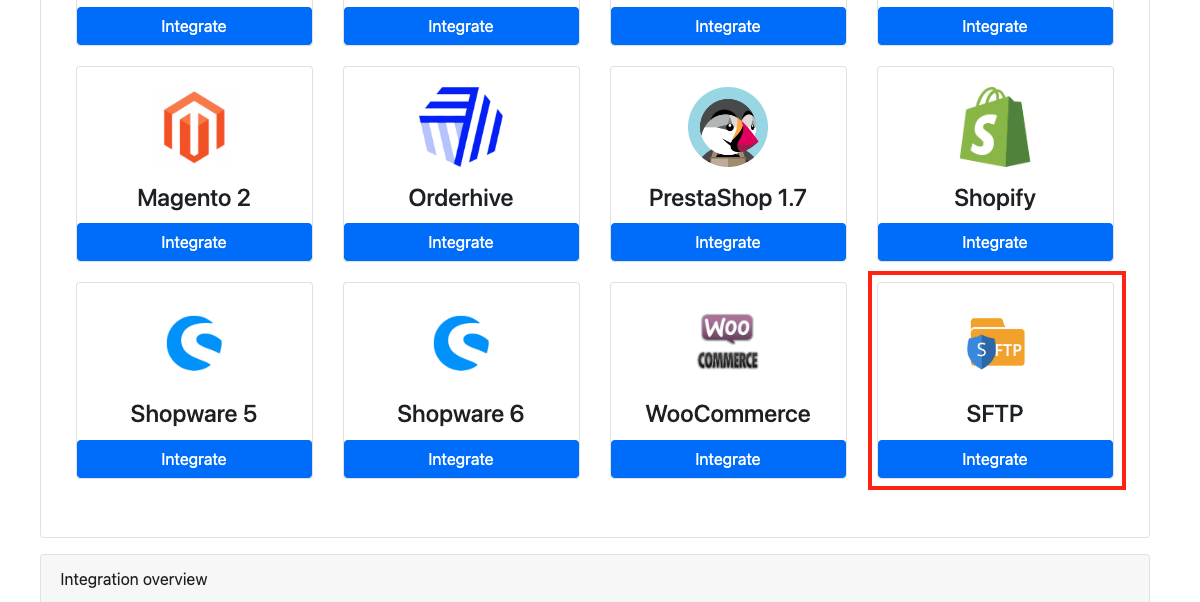
Now click on SFTP:
On this page you can add the required data:
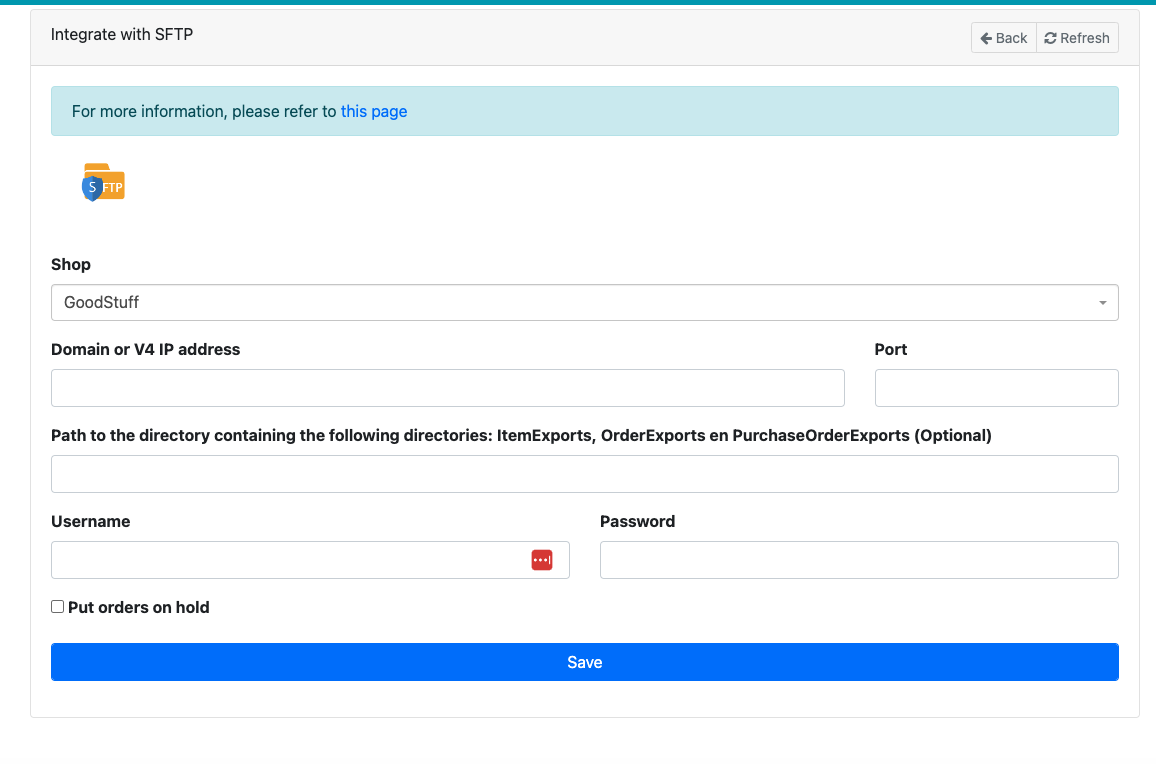
After saving the integrations the orders will orders will be synchronized in 5 minutes and the other data in one hour.
Magento 2
| Quick information | |
|---|---|
| Supported versions | 2.* |
| Required data | Store url |
| Access token |
Preparation
Make sure you are logged in to the Magento admin portal
Obtain necessary data
Please read the following documentation on how to create and recieve the access token: https://experienceleague.adobe.com/en/docs/commerce-admin/systems/integrations
-
Customer: Choose a user from the system list.
-
Shop: Choose the shop, for the selected user.
-
Url of the store: Should be the full url, so with https://
-
Access token: Use the access token as obtained in the first step.
-
Put orders on hold: Check or leave unchecked. If checked, the migrated orders will have the status of "on hold"
-
Import orders: Select the invervals in which to keep importing the latest order list.
-
Import products: Select the invervals in which to keep importing the latest product list.
Click on the blue button "retrieve stores" to fetch the stores for the provided shop.
When the call is successful, you should now be able to check the stores to sync.